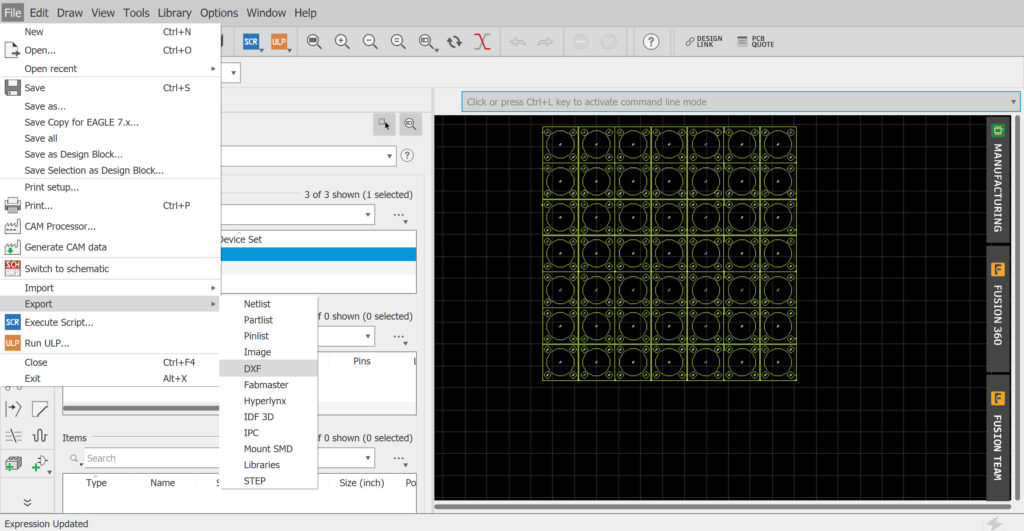
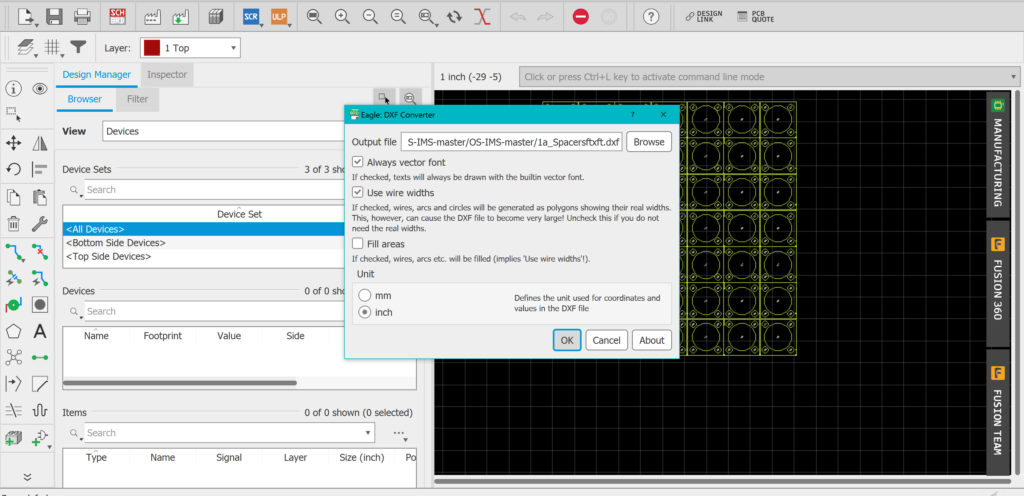
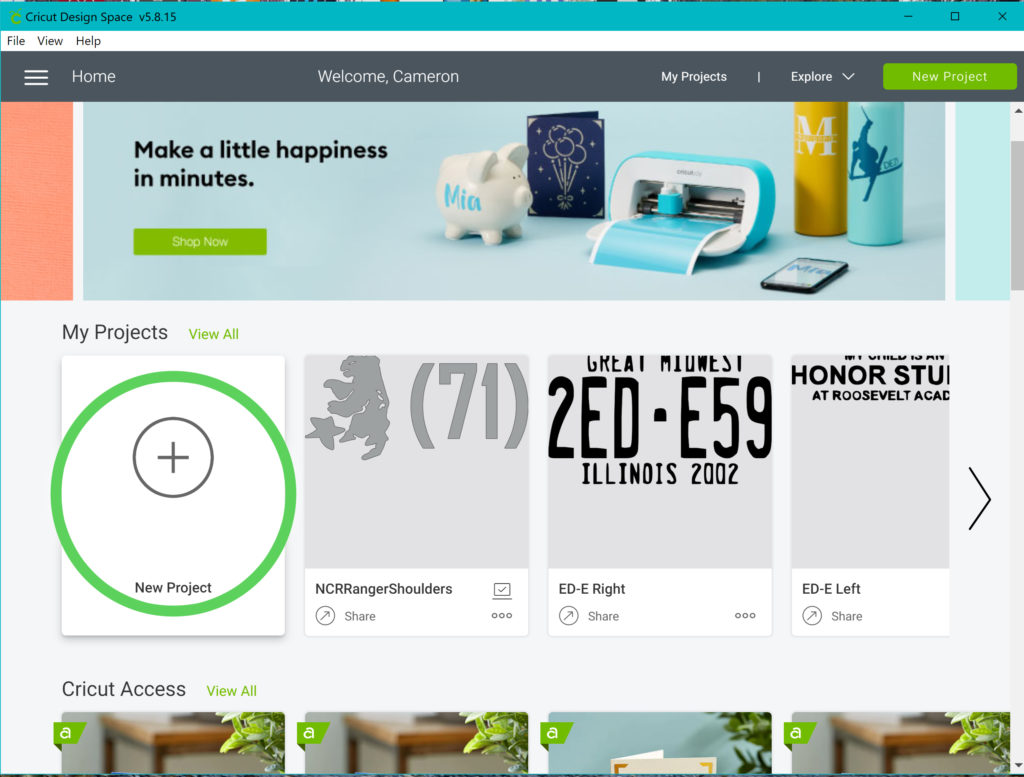
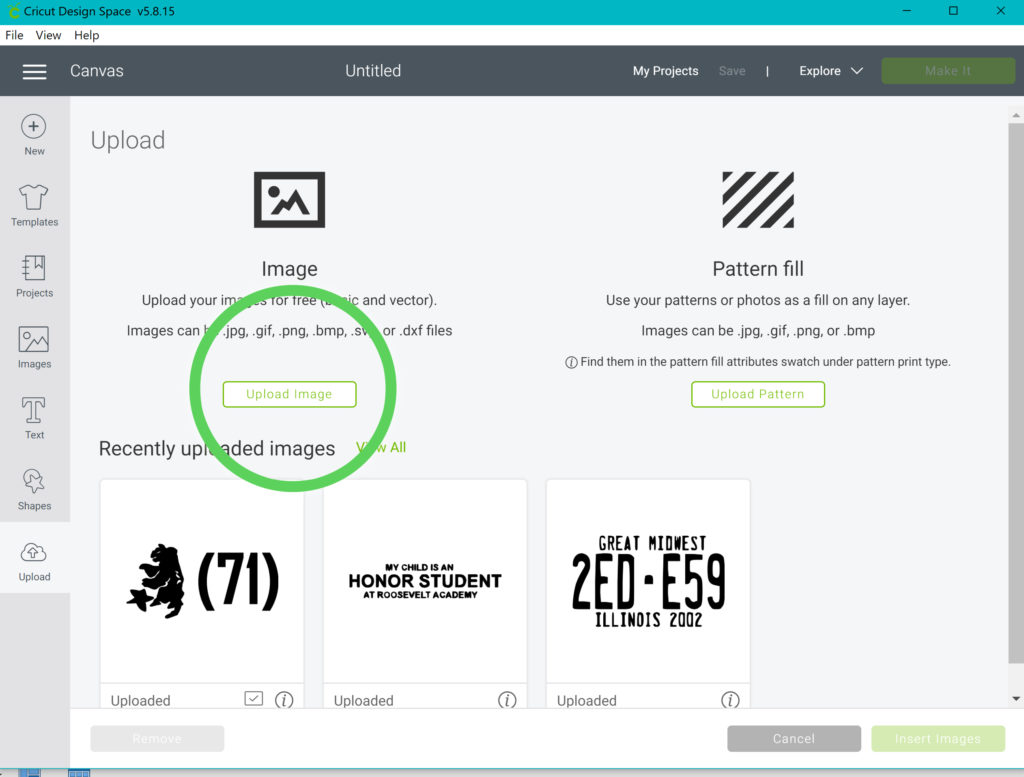
Our most recent PCBIMS designs utilize Teflon spacers between each electrode and PCBIMS spacer. Once compressed, these Teflon spacers ensure the IMS is gas-tight. We use a Cricut Explore Air 2 to create our Teflon (or Kapton) spacers. Additionally, the Cricut can be used to ensure the fit of the holes for electrodes top board for new electrode/spacer designs by creating a top board from paper before ordering a PCB variant. Below is a tutorial on how to convert PCB designs to cut with a Cricut:
Materials List:
- Cricut machine/account
- PCB editing software that supports .brd and .dxf files (we use Eagle autodesk)
- Roll of Teflon the size of your cricut mats
Teflon:
We typically use a thickness of 0.1 inch ordered from McMaster-Carr:
https://www.mcmaster.com/8569K41
a 12 inch by 12 inch sheet (1 cricut mat) will give 49 spacers. For 1 IMS with a 29 electrode desolvation region and drift region (~10.2cm long for each) approximately 116 Teflon spacers are required plus some tabbed Teflon spacers for the tri-grid gates (3 per gate attached to a pulser, one for a Faraday plate). Thus roughly 3 ft x 1ft are required minimum per IMS.

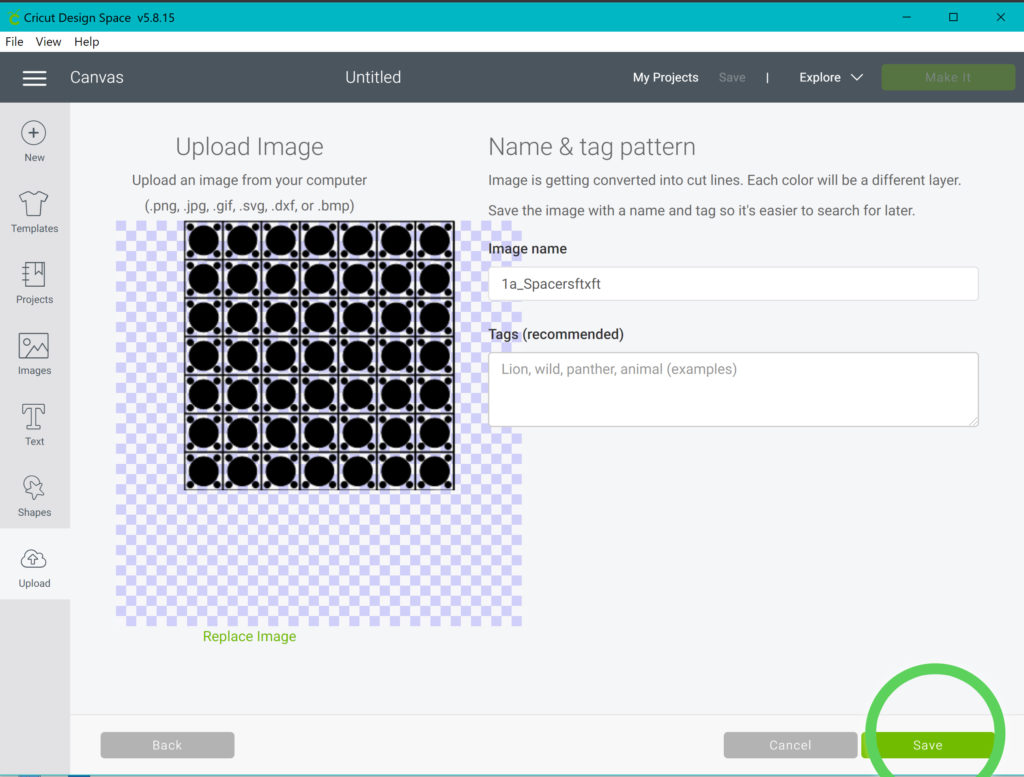
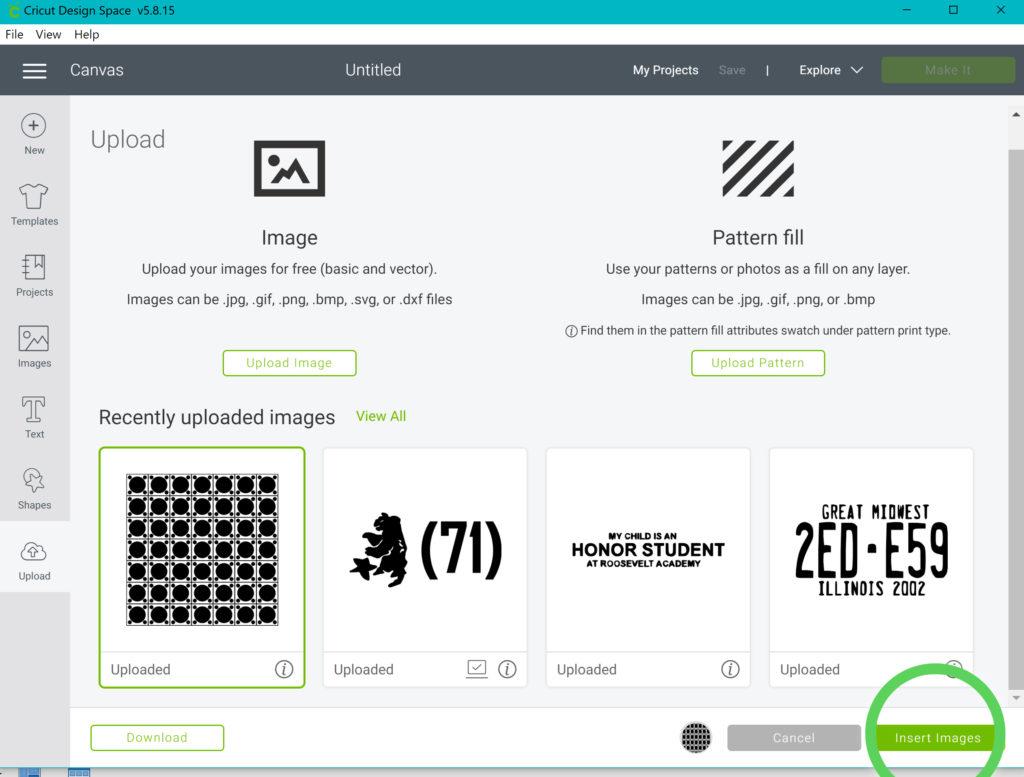
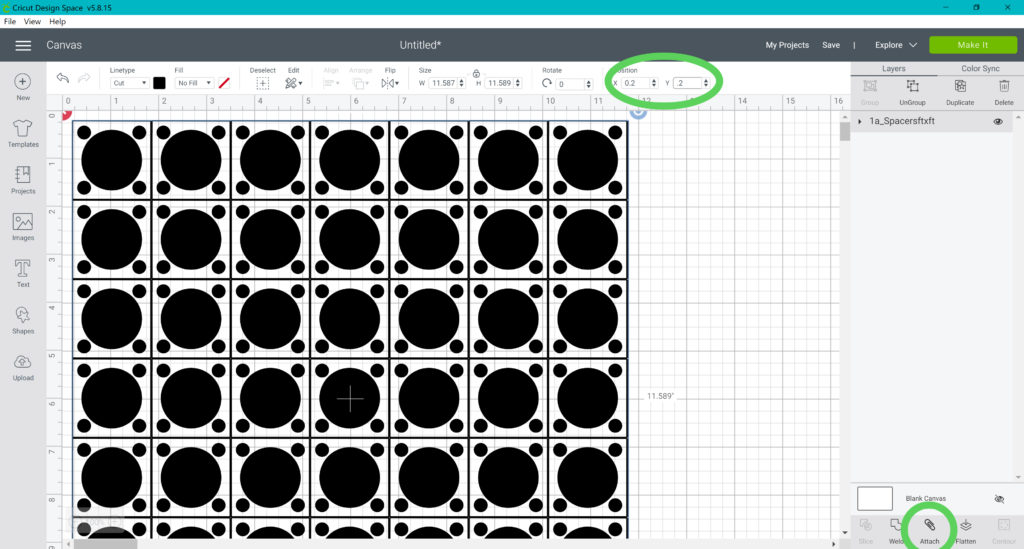
Depending on the type of material and thickness used, you will need to adjust settings on your cricut mat accordingly. We found the green (medium stickiness) works well for 0.05″ or 0.1″ Teflon and the blue (light stickiness) works well for Kapton. We use the cardstock setting on the Cricut air for both materials.